

Overview
This guide explains how to properly replace an MXRT graphics board with an MXRV graphics board in a workstation and install the correct drivers. This procedure is typically required when a hardware defect has been confirmed by a Barco representative or when testing with a different graphics board model.
Prerequisites
- Hardware: Ensure the workstation supports PCIe Gen4 and has adequate power supply.
- Software: Download the latest MXRV driver package (includes MXRT/MXRV drivers and Intuitive Workflow Tools).
- Tools: Screwdriver, anti-static wrist strap (if possible), and DisplayPort cables.
Step 1: Replace the graphics board
- Power off the workstation and disconnect all cables.
- Remove the MXRT graphics board.
- Insert the MXRV replacement board into the same PCI-e slot on the motherboard.
Note: Pre-installation of MXRV drivers without MXRV graphics board is no longer possible
Step 2: Display Connection
Important:
Do not reconnect diagnostic imaging monitors yet. If you start the workstation with these monitors connected, you may experience:
- No image displayed.
- Windows defaulting to a basic resolution.
Recommendation: Before installing the MXRV drivers, connect only one monitor to the MXRV board and preferably the one with the lowest resolution as higher resolutions may not be supported until the required Barco drivers are installed.
Step 3: Run MXRV Driver Installer
Important MXRT Drivers do not support MXRV graphics boards but MXRV drivers supports MXRT graphics board.
Therefore, if a MXRT graphics board gets replaced with a MXRV graphics board, the following steps are required:
- Download the latest MXRV driver package from the Barco Support Website.
- Extract the ZIP file.
- Run the MXRV driver package installer with local administrator rights.
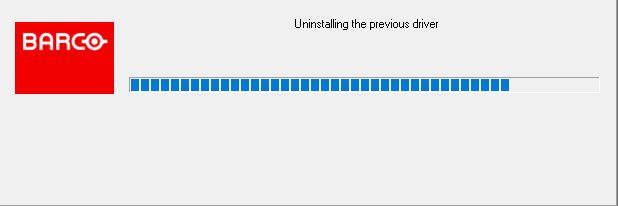
Step 4: Remove Old MXRT Drivers
- During installation, the MXRV installer will detect existing MXRT drivers and prompt you to remove them.
- Confirm removal.
- The workstation will automatically restart.

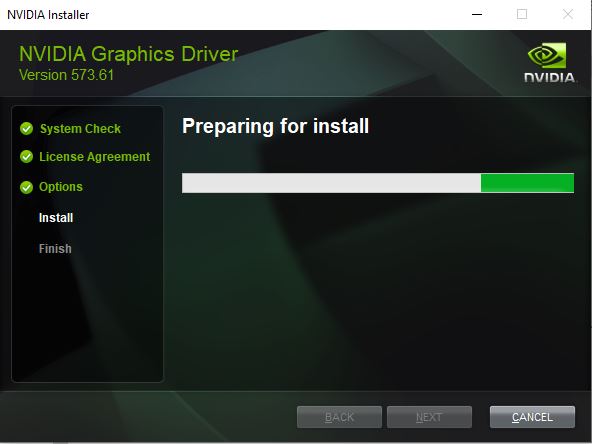
Step 5: Complete MXRV Driver Installation
- After restart of the workstation, the MXRV installation does not resume automatically.
- Manually run the MXRV installation package again.
- Follow the normal workflow to complete installation of the MXRV driver and associated applications.
Final Check
- Reconnect diagnostic imaging monitors.
- Verify correct resolution and functionality of the Barco applications such as the Barco System Settings.

