The ClickShare Mobile App for Android is designed to easily connect and share content to the meeting room display connected to the ClickShare Base Unit.
For wireless presentation and conferencing solution, make sure to update your mobile device with the ClickShare Mobile App version 3.2.0 or higher.
There are only 2 simple steps to start sharing:
- Connect to the meeting room
Depends on how your Base Unit (or a meeting room) connected to your network - Start sharing your screen
Note: Depending on how ClickShare was set up in the meeting room and the network your mobile device is connected to, you might need to take some additional steps before you can start sharing to the meeting room display with the ClickShare Mobile App. Please refer to the ClickShare Network Deployment Whitepaper (CS/CSE-series and C/CX-series) available on Barco website for details.
Note: Audio sharing is supported from version 3.3.0 onwards. More information in KB 3350.
1. Connecting to the meeting room
- Meeting room is on the same network as your device
- Meeting room is NOT on the same network as your device
Meeting room is on the same network as your device
- Open the app and select the meeting room you want to connect. By default, all the meeting rooms found over your current Wi-Fi networks will be visible in the App.
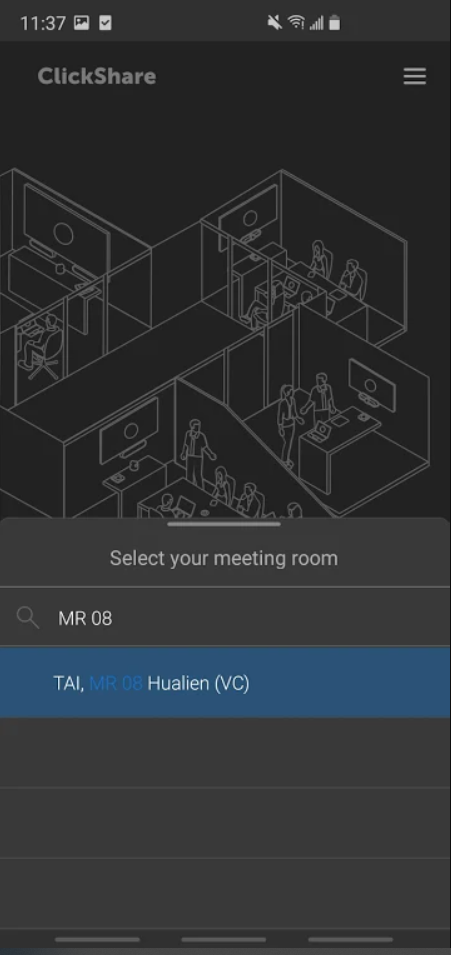
In case, you don't see your meeting room in the presented list, try searching for it using the search box on top of the list.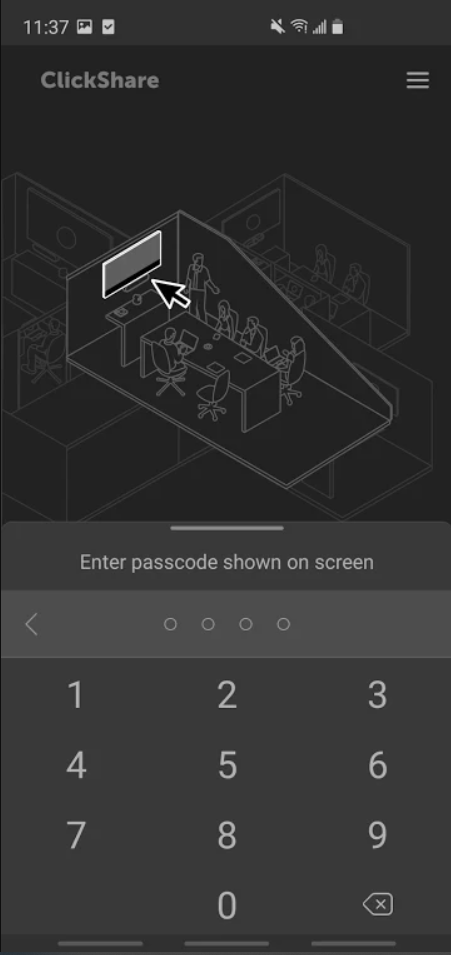
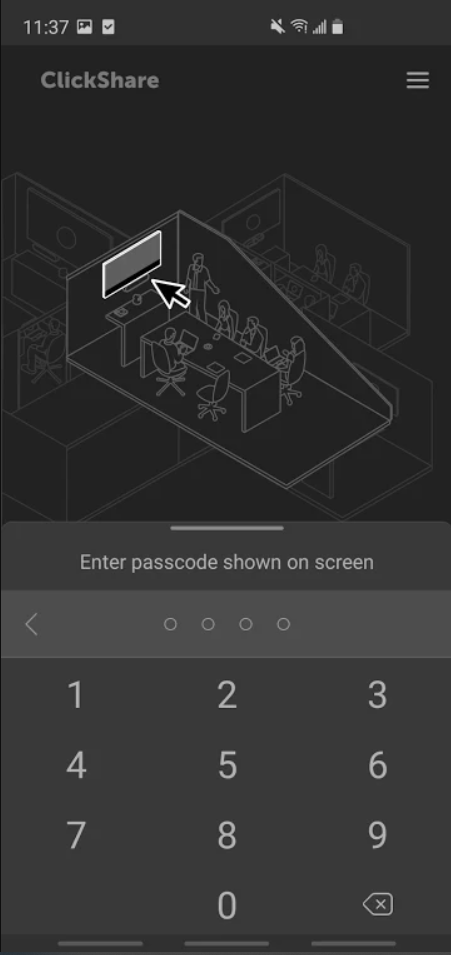
- If prompted, enter the 4-digits pincode (if the passcode usage is enabled on the Base Unit) that appears on the meeting room screen, see KB 9091 for details.
- Connection to the meeting room established, start sharing the content from your devices to the meeting room display connected to the ClickShare Base Unit (how to: see below)
Meeting room is NOT on the same network as your device
If the meeting room cannot be found in the meeting room list or when searching, you will have to connect your device directly to the ClickShare Base Unit Wi-Fi access point.
- Connect to the ClickShare Base Unit Wi-Fi (how to: see KB 2675).
- Open the App, your device is connected to the meeting room display
- Start sharing the content from your devices to the ClickShare Base Unit (how to: see below).
2. Sharing your screen
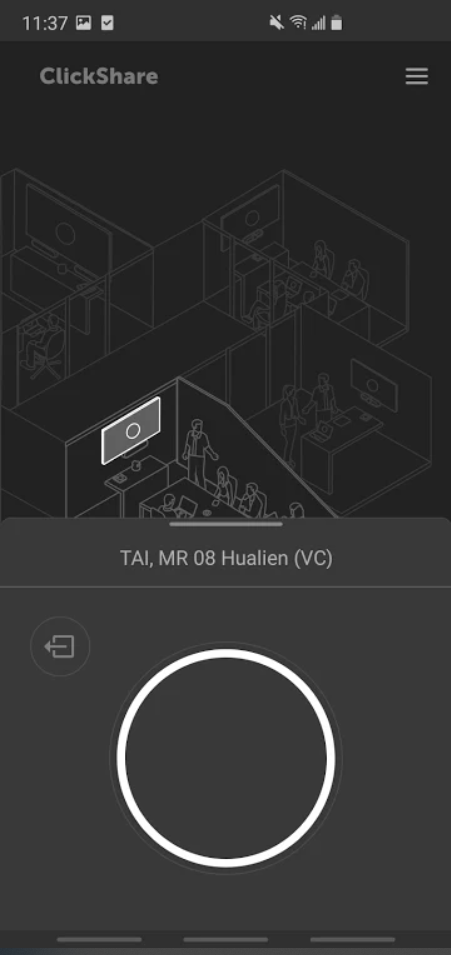
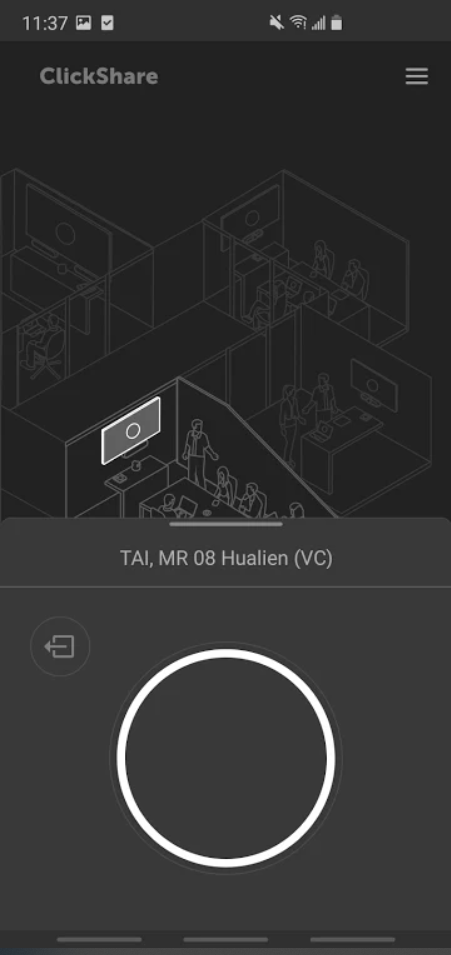
- Tap the big white circle in the ClickShare Mobile App.
A system pop-up message will warn you that everything on your screen will be shared and ask you for confirmation. - Click Confirm.
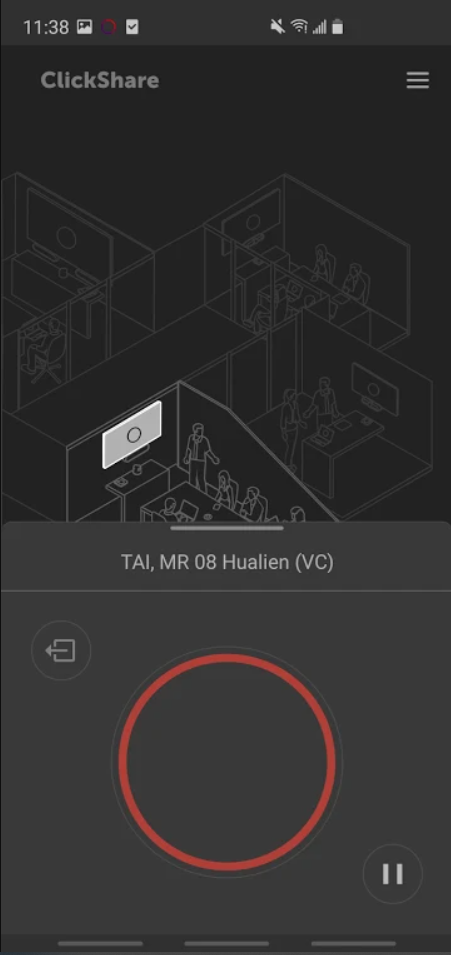
The pop-up disappears and the big white circle in the app turns red. Additionally, the screen broadcasting is indicated by the red bar on the top of the screen.
Your screen is now being shared to the meeting room display and you can switch to any other app on your device to share content in the meeting room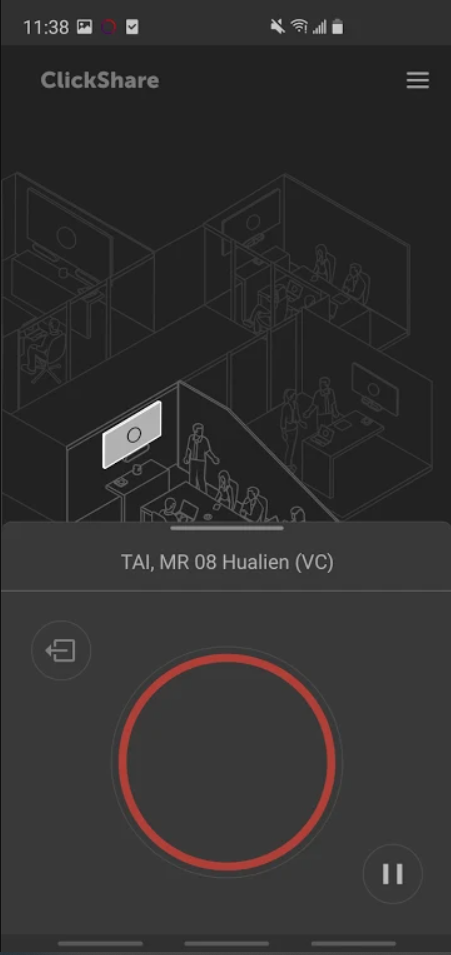
How to stop sharing
From any App on your device, you can tap the red icon at the top of your screen. This will show a pop-up, from which you can stop the sharing of your screen.
Alternatively, you can go back to the ClickShare App and tap the big circle to stop sharing your screen.
